For artists with physical originals

How to Photograph Artwork for Printing

A print of a painting or drawing can only reproduce what its digital master contains. Colour casts, glare, skewed edges and inadequate resolution in the capture will carry into the final print unless corrected. This guide helps you prepare a source image; it is not a claim that Lumière Print offers an artwork-digitisation service.

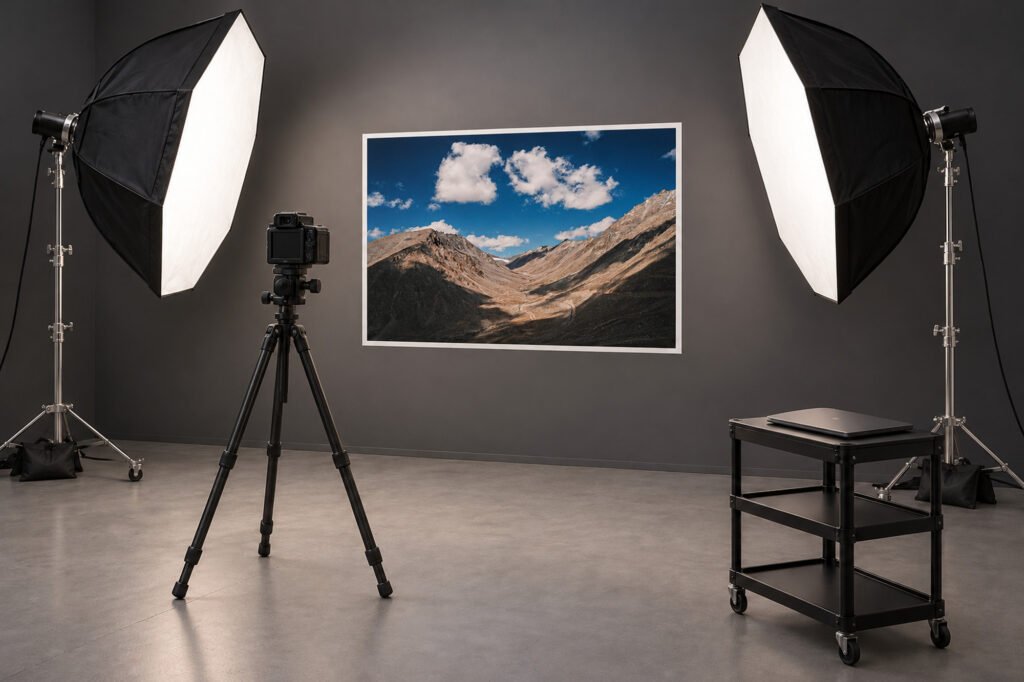
Painting photographed square-on with a tripod camera and two lights at 45 degrees

1 · Light

Use even, consistent light

Place the artwork where light is soft and even across the whole surface. Avoid direct sun, on-camera flash and mixed light sources with different colour temperatures. Glossy or textured originals may need careful light positioning to reduce reflections and emphasised texture.

2–4 · Camera, capture, correction

Square, complete and carefully corrected

02

Keep the camera square to the work

Align the sensor parallel to the artwork; a tripod keeps it steady and centred. Include every edge with a little surrounding space.

03

Capture more than the final size needs

Highest practical quality; no digital zoom, heavy sharpening or compression. Capture a neutral reference if you can; bracket difficult highlights and shadows.

04

Correct geometry and colour carefully

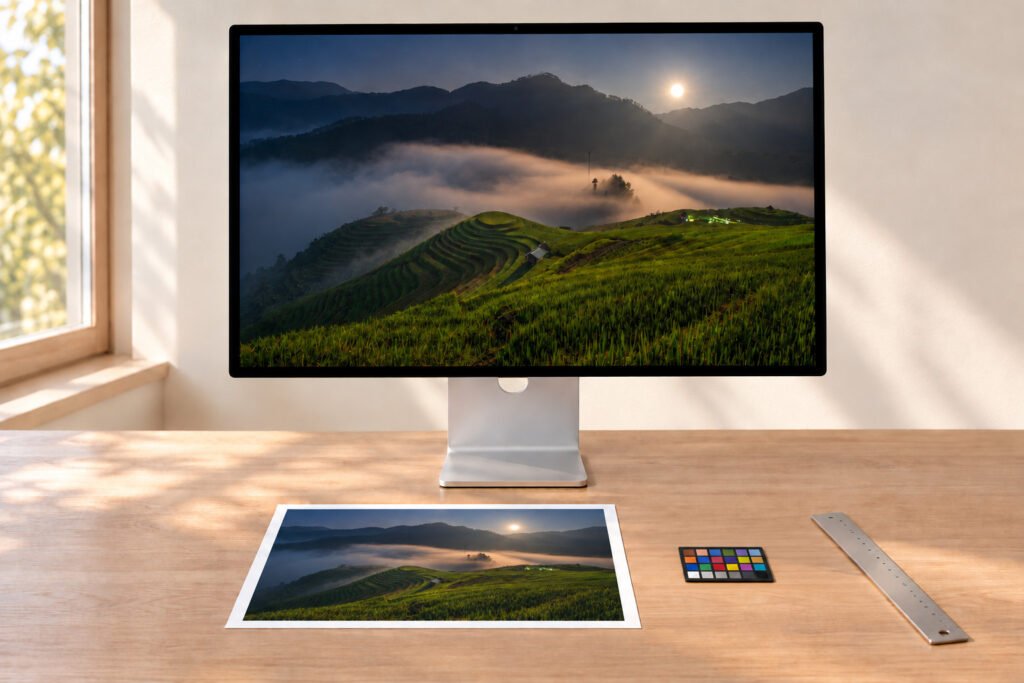
Straighten, correct distortion and remove casts. Compare to the original under consistent light; do not oversaturate to suit a bright display.

5 · When to get help

Know when professional capture matters

Metallic, glossy, relief or very large originals can be difficult to reproduce with a simple camera setup. If fidelity to the original is critical, arrange appropriate professional capture before printing. Ask Lumière Print how a supplied master should be prepared and whether any capture partner or service is available for your project.

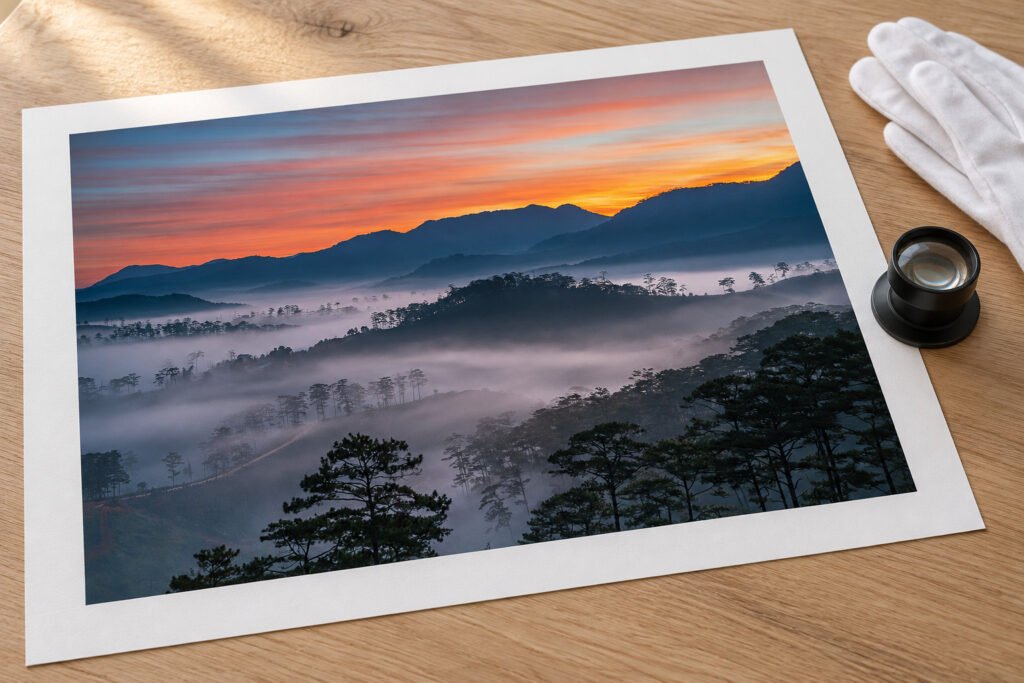
Gloved hands lifting the corner of a matt cotton print on an inspection table